Introduction
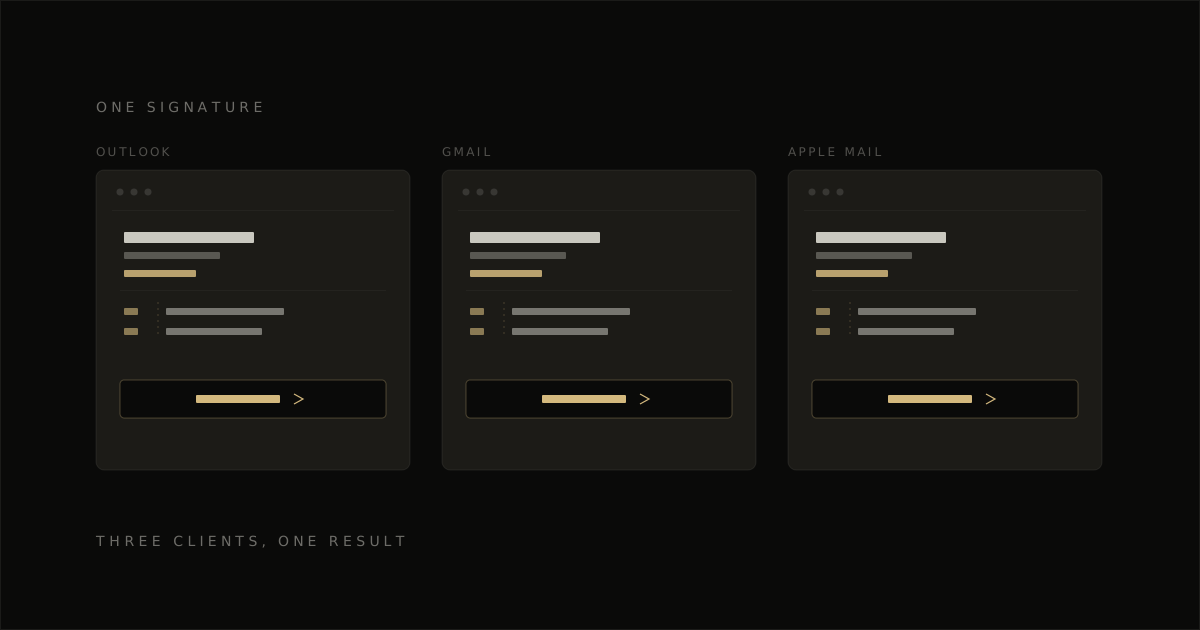
You built a signature that looked sharp, sent a test email to a client, and watched it fall apart: the logo shifted, the font reverted to Times New Roman, and the divider line vanished. That’s the whole problem with how to set up an email signature the way most guides teach it. They show you one client (usually Gmail) and stop there, but Outlook renders HTML with Word’s engine, not a browser engine, and Gmail strips out style blocks it doesn’t like. A signature that looks right in the composer you built it in can look broken the moment it lands somewhere else.
This piece walks through the setup for each major client, Outlook, Gmail, and Apple Mail, plus what’s actually happening under the hood when a signature snaps. You’ll also get a copy-paste HTML signature built to survive all three without babysitting it, and a way to check your work before your next campaign or client email goes out looking cheap.
The Fastest Way to Set Up a Signature
To set up an email signature, write your contact details as plain text first, then paste that content into your email client’s signature settings and turn it on for new mail and replies. The whole process takes under ten minutes once you know what belongs in the block and where your client hides the setting.
Before touching any menus, get the content right. A signature that’s missing a link or buried under a headshot the size of a passport photo will need fixing twice.
What you’ll need first
Gather these pieces before you open any settings screen. Keep the list short: a signature earns trust by being clean, not by cramming in every channel you’re on.
| Item | Why |
|---|---|
| Full name | Confirms who sent the message, especially in group inboxes |
| Job title | Gives context fast, particularly for first-time recipients |
| One phone number | A single number beats three that nobody will call |
| One link | Website, booking page, or LinkedIn; pick the one that matters most |
| One clear CTA | Tells the reader what to do next, not just who you are |
| Headshot (optional) | Builds familiarity in client-facing roles, but adds a rendering risk (more on that below) |
Everything else, second phone lines, five social icons, a legal disclaimer nobody reads, competes for attention against the one action you actually want.
The setup in four moves
Once your content is written, the mechanics are the same shape across every email client, even if the exact menu labels differ.
- Build the content first. Write your name, title, phone, link, and CTA as plain text in a document before you touch signature settings.
- Open your email client’s signature settings and paste it in. Every major client keeps this under an account or message menu, usually labeled Signatures.
- Set it to apply automatically to new messages and replies. Most clients offer checkboxes for “new mail” and “replies/forwards” separately; check both so you’re not pasting it in manually every time.
- Send a test email to yourself. Open it on desktop and on your phone before you trust it in front of a client.
That fourth step matters more than it sounds. A signature that survives every client only gets confirmed once you’ve actually seen it render somewhere other than the compose window you built it in.
The exact clicks differ between Outlook and Gmail, and those specifics are covered next.
What Makes a Signature Worth Keeping
A signature is worth keeping if a stranger can identify you and take one action without scrolling or squinting. That’s the whole test, and most signatures fail it because they try to do six things instead of one.
Before you touch any client settings, decide what actually earns a spot in that block. Get this part wrong and no amount of formatting will save the signature.
The one-line rule
The one-line rule: a stranger should be able to identify you and act, in the time it takes to glance, not read.
That means four things and nothing more: your name, your title, one link, one call to action. If someone has to scroll past a paragraph of taglines to find your phone number, the signature has already lost.
This is the filter for every decision that follows. If an element doesn’t serve identification or that single action, it’s a candidate for the cut list below.
What to include and what to cut
Include only what supports the one-line rule, cut everything that competes with it.
Here’s what belongs in a signature that survives contact with a real inbox:
- Full name: not a nickname, not initials, the name someone would search for
- Specific job title: “Founder” or “Head of Ops,” not a vague department label
- One phone number: pick the one you actually answer
- One primary link: your site, your booking page, or your most relevant profile
- One clear CTA: a single next step, worded plainly
- Optional headshot: small, square, and only if it renders reliably (more on that later)
And here’s what tends to sneak in and shouldn’t:
- Unsubscribe or compliance footers (these belong to marketing sends, not personal signatures)
- Postal address and legal disclaimers, unless a regulator specifically requires them for your business
- Multiple accent colors fighting for attention
- Several social icons linking in different directions
The logic behind one CTA only is simple: every extra link splits attention. Give a reader five things to click and most will click nothing, because the signature no longer tells them what to do first.
This is also where a lot of the visual mess starts. A logo, three social icons, a headshot, and a tagline all crammed into one block is exactly the kind of layout that breaks apart differently in every inbox, which is a separate problem from what belongs there in the first place.
How to Add a Signature in Outlook
Outlook now runs two different signature systems depending on which version lands on your screen, and the menu paths do not match between them. Below are the exact clicks for each, plus the extra steps for dropping in a logo.
New Outlook and Outlook on the web
The web and New Outlook versions share the same settings path, and Microsoft is steering everyone toward this interface long-term.
Select Settings, go to Accounts, then Signatures to reach the editor. From there, add a signature, name it, format the text, and decide whether it should apply automatically to new messages and replies.
The single-signature limitation is worth planning around before you build anything elaborate. If you run multiple accounts through New Outlook, you’re stuck manually swapping or copying signatures rather than letting the client route the right one per inbox.
Classic Outlook for Windows
Classic desktop Outlook still runs through File-adjacent menus inside the compose window rather than a global settings panel.
Open a new message, go to Signature, then Signatures, and pick the email account you want to attach the signature to from the dropdown. Different accounts can carry different signatures here, which is the one real advantage classic Outlook has over the newer interface.
Create a new signature, give it a name, and build the content in the edit box. Word formatting pastes in cleanly if you’d rather compose there first.
Set the auto-insert behavior separately for new messages and for replies and forwards using the two dropdowns at the bottom of the dialog. This is also where signatures saved on this device stay local, so a signature built on one machine won’t automatically appear when you log into Outlook elsewhere.
Adding a logo or image
A logo goes in through the same Signatures and Stationery dialog used to build the text signature.
Select the image icon, browse to your logo file, and insert it directly into the edit box rather than attaching it separately. Right-click the inserted image, open Picture, and resize it under the Size tab with Lock aspect ratio turned on so the logo doesn’t warp.
Skip VML-based image tricks if you’re pasting a signature built somewhere else. Outlook can render those as attachments instead of inline images, which defeats the purpose of having a logo at all.
How to Add a Signature in Gmail
Gmail signatures live under Settings, not in a separate signature app, and the same panel handles formatting, defaults, and multiple addresses. The steps below cover the desktop version; the Gmail mobile app uses a shorter, simplified menu with fewer formatting options.
The character limit for a Gmail signature is 10,000 characters, which is generous enough for text, links, and an inserted image, but worth knowing if you are pasting in a heavier HTML block.
Create your signature in Gmail settings
The steps above cover the full setup: opening settings, building the signature with text and an optional image, and locking in defaults so it fires automatically on new mail and on replies. Once saved, Gmail applies the signature without any further action on your part, though you can still swap it manually per email using the signature icon at the bottom of the compose window.
Using different signatures per address
If your account sends from more than one address through “Send mail as,” Gmail lets you assign a distinct signature to each one instead of reusing a single default.
- Select the address: In the Signature section of settings, use the drop-down menu positioned above the signature text box to pick which address you are editing.
- Build and save separately: Create or edit the signature for that address, then repeat the process for each additional “Send mail as” address before clicking “Save Changes.”
If that drop-down menu is missing, your addresses are not yet registered under “Send mail as” in the Accounts and Import settings, and Gmail has nothing to attach a second signature to.
Why Signatures Break Across Clients
A signature that looks perfect in one inbox falls apart in another because each email client rewrites your HTML with its own rules, not because you did anything wrong. Outlook, Gmail, and dark mode each break a different part of the same signature, and fixing all three is what separates a signature that survives from one that doesn’t.
Outlook renders with Word’s engine
Outlook on Windows draws your signature using Microsoft Word’s rendering engine, not a browser engine, which is why anything shaped like a button often turns into a flat rectangle or vanishes.
Rounded corners, shadows, and gradients are unreliable for the same reason. Any button needs VML (Vector Markup Language) as a fallback, and layout has to lean on plain tables rather than modern CSS positioning.
Word’s engine also has quirks with spacing: it can apply one cell’s padding across an entire row, and images without fixed dimensions can shift size unpredictably. Nested tables and explicit widths avoid both problems.
Gmail strips style blocks
Gmail strips <style> blocks in specific situations, most often when the CSS inside them has an error or runs too long, so any styling that depends on a <style> block alone is fragile.
The safe rule: every load-bearing style (font size, color, weight, spacing) gets written as an inline style="" attribute on the element itself. A <style> block still has a place for dark-mode overrides and hover effects, but it’s a bonus layer, never the foundation.
This is a big part of why copy-pasted signatures from design tools break the moment they land in a Gmail thread. The tool wrote clean CSS in a style block and assumed every client would read it.
Dark mode inverts your colors
Roughly a third of email opens happen in dark mode, so a signature that only accounts for light backgrounds is failing a third of your audience by default.
Gmail’s mobile app, Outlook, and several webmail clients auto-recolor a light signature when the device is set to dark, which can flip your carefully chosen background to near-black and drag your text color along with it.
The fix is to declare every zone’s background twice: once as an HTML bgcolor attribute, once as an inline background-color style, on the same cell. Clients that honor one declaration but ignore the other still get a consistent result either way.
It also helps to avoid pure black or pure white anywhere in the design, and never bake text into an image, since inverted images can turn logo text unreadable or make a white background swallow a dark logo whole.
Copy-Paste HTML Signature That Renders Everywhere
A ready-made signature block removes the guesswork the last section covered: table layout and inline styles instead of style blocks, so Outlook’s Word engine and Gmail’s stripping habit both leave it alone.
Paste the code below into your client’s signature editor (or an HTML signature tool) exactly as it is, then swap in your own details using the guide underneath.
The founder and CEO signature block
This template uses a table for structure and inline styles for every color, font, and spacing value, which is what keeps it intact after Outlook and Gmail rewrite the markup.
<table cellpadding="0" cellspacing="0" border="0" style="font-family:Arial,Helvetica,sans-serif;">
<tr>
<td style="padding-right:16px; vertical-align:top;">
<img src="https://yourdomain.com/assets/headshot.jpg" width="80" alt="Headshot of Jane Doe" style="display:block; max-width:100%; height:auto; border:0; border-radius:6px;">
</td>
<td style="border-left:2px solid #D4B97E; padding-left:16px; vertical-align:top;">
<table cellpadding="0" cellspacing="0" border="0">
<tr>
<td style="font-size:16px; font-weight:bold; color:#1A1A1A; padding-bottom:2px;">
Jane Doe
</td>
</tr>
<tr>
<td style="font-size:13px; color:#5A5A5A; padding-bottom:8px;">
Founder & CEO, Acme Studio
</td>
</tr>
<tr>
<td style="font-size:13px; color:#333333; padding-bottom:2px;">
<a href="mailto:jane@acmestudio.com" style="color:#333333; text-decoration:none;">jane@acmestudio.com</a>
</td>
</tr>
<tr>
<td style="font-size:13px; color:#333333; padding-bottom:10px;">
<a href="tel:+15551234567" style="color:#333333; text-decoration:none;">+1 (555) 123-4567</a>
</td>
</tr>
<tr>
<td style="padding-bottom:10px;">
<a href="https://acmestudio.com" style="font-size:13px; color:#5A5A5A; text-decoration:none;">acmestudio.com</a>
|
<a href="https://linkedin.com/in/janedoe" style="font-size:13px; color:#5A5A5A; text-decoration:none;">LinkedIn</a>
</td>
</tr>
<tr>
<td>
<a href="https://acmestudio.com/book-a-call" style="display:inline-block; background-color:#1A1A1A; color:#FFFFFF; font-size:14px; font-weight:600; text-decoration:none; padding:12px 24px; border-radius:8px;">
Book a call →
</a>
</td>
</tr>
</table>
</td>
</tr>
</table>The CTA sits on its own row so it renders as a button, not a text link buried in the block.
How to install and swap in your details
Paste this code into the HTML or source view of your email client’s signature editor, save, and it will carry every future send without you touching the markup again.
Before you save, swap out the following:
- Headshot URL: replace
https://yourdomain.com/assets/headshot.jpgwith an image hosted on your own domain, your ESP’s asset library, or a public file host. Never paste a base64 string intosrc, it will blow past Gmail’s clipping threshold and break the signature on load. - Name and title: update “Jane Doe” and “Founder & CEO, Acme Studio” to your own.
- Email and phone: update the
mailto:andtel:links, and the visible text next to them, so both match. - Website and LinkedIn: swap the
hrefvalues and link text for your own domain and profile. - CTA link and label: point
hrefat your booking page, calendar link, or landing page, and change “Book a call” to whatever action you actually want (a demo, a download, a reply). - Accent color and radius: the
border-leftcolor andborder-radiusvalues are cosmetic, adjust them to match your own brand if you have one.
Once every field is updated, save the signature in your client and send yourself a test message.
If your logo or headshot looks stretched, double-check the width attribute on the <img> tag matches the file’s actual proportions, that single number is what keeps Outlook from resizing it incorrectly.
Test Your Signature Before You Rely on It
Send a test message to a Gmail address and an Outlook address you own before that signature goes anywhere near a client.
Open one copy on your phone and one with dark mode switched on, then click the CTA button and the phone number to confirm both actually fire.
Check the headshot too. If the image doesn’t load or shows as a blocked attachment, fix that before the signature touches a single real message.
A broken button in Outlook almost always means an image acting as a link instead of a proper button, since Outlook’s Word engine collapses those. Missing inline styles show up as a signature that loses its font or color the moment it lands in Gmail, and a photo that won’t load is usually hosted somewhere the recipient’s client can’t reach, not a bug in the signature itself. For the deeper mechanics behind Outlook-specific breakage, Outlook HTML Email Rendering Issues: Why They Happen and How to Fix Them covers the fixes step by step.
Once it passes both inboxes, both display modes, and both actions, you’re done. No further edit needed until your title, phone number, or CTA changes.
Frequently Asked Questions
How do I change an email signature I already set up?
You edit it in the same settings panel where you created it, then save over the old version.
In Outlook on the web or new Outlook, go to Settings > Accounts > Signatures, select the signature name, and edit the text in the box below it.
In classic Outlook for Windows, the path is Message > Signature > Signatures, then pick your signature under “Select signature to edit.”
In Gmail, open Settings > See all settings > General, scroll to Signature, and update the existing block directly.
How do I add a logo to my email signature?
You insert the image file directly into the signature editor, then resize it before saving.
Most clients, including Gmail and both versions of Outlook, have an image icon in the signature toolbar that lets you upload a file or paste one in.
Keep the logo hosted (uploaded to the client rather than pasted as a local file path), since a local-only image link breaks the moment the signature leaves your machine.
Resize it to roughly 120 to 150 pixels wide before you save, since large logos are what push signatures into the “looks fine on desktop, dominates the screen on mobile” problem.
Why doesn’t my signature show up automatically in new Outlook?
New Outlook can hold multiple named signatures, but it does not always auto-insert one into every new message the way classic Outlook does.
Some users find the default-signature checkboxes at the bottom of the signature editor don’t stick, so a message opens with no signature attached even after one was saved and set as default.
The dependable workaround is to build the signature once in the Insert > Signature panel while composing, then copy that finished block and paste it in as a static text or “quick part” style insert for messages where auto-insert fails.
Checking the account selector at the top of the Signatures pane also matters, since new Outlook can apply a signature to the wrong account if more than one is connected.
Can I copy and paste a signature between Gmail and Outlook?
Yes, if the signature is built with inline-styled HTML rather than a linked style sheet, since that’s the format both clients tend to preserve.
A signature made from a table with styles written directly on each element carries over cleanly in copy and paste between the two.
Formatting can still shift slightly (spacing, font fallback, or logo alignment), so always send yourself a test email after pasting into a new client rather than trusting the preview pane.
Should I put a photo in my email signature?
A headshot photo is optional, and it earns its place mainly for roles where a face helps someone recognize you before a meeting, like sales, recruiting, or client-facing consulting.
It adds recognition value in cold outreach or first-touch emails, where the recipient has never seen you before.
Keep it small (around 60 to 80 pixels) and round or square, since an oversized photo unbalances the layout and competes with your name and contact line for attention.
If your role is internal or repeat-contact heavy, a logo usually earns its space better than a photo does.
How do I add a signature on the Gmail mobile app?
You add it inside the Gmail app itself, under a separate settings menu from the desktop version.
Open the Gmail app, tap the menu icon, scroll down to Settings, select the account you want, then tap Mobile Signature and enter your text.
The mobile signature editor is plain text only (no logo, no formatting, no links as clickable elements), so most people keep the mobile version to a name, title, and phone number and rely on the desktop signature for anything richer.